What is DISM Tool?
Most often or not, Windows 10 users deal with problems related to malware, driver errors, BSOD errors, and more. However, the good thing is that Windows 10 also offers you some built-in tools to deal with most of the errors. One such tool is DISM. DISM or Deployment Image Servicing and Management is a command-line utility developer for administrators to troubleshoot various issues. It can quickly fix issues like system file corruption, corrupted system image, and few other problems. Although the tool is meant for administrators to prepare, modify, and repair system images, it can be used with local recovery images to resolve the most common system errors. What’s more interesting is that the DISM tool helps you deploy the original image from the internet without re-installing Windows 10. That means you can troubleshoot uncorrectable errors via the DISM tool without re-installing the entire operating system. Also Read: How to Set Up a Wallpaper Slideshow in Windows 10 PC
Steps To Use DISM tool on Windows 10 PC
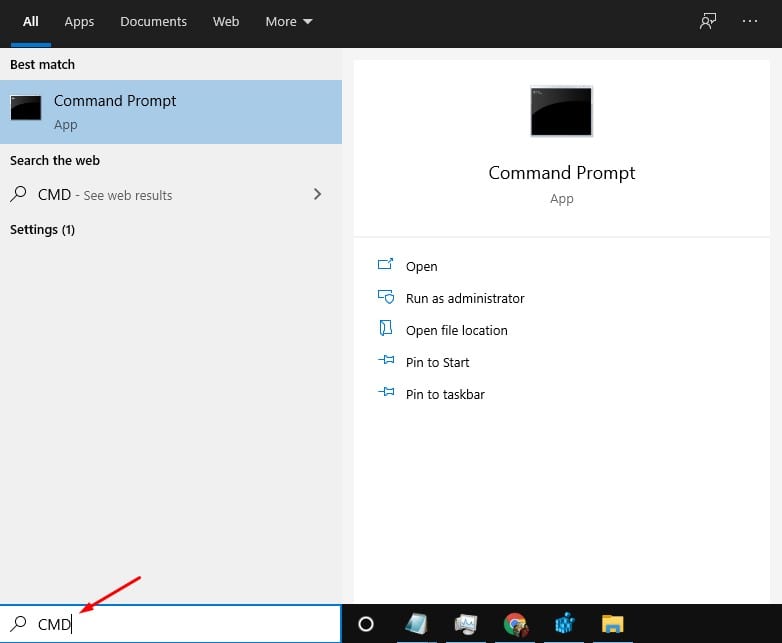
Although DISM is a great tool, you still need to run the SFC tool after completing the operations with the DISM. This is because the DISM tool fixes the problem restricting the SFC command from functioning properly. This article will share a step-by-step guide on how to use the DISM tool on Windows 10 operating system. Let’s check out. Step 1. First of all, click on the Start button. On the Windows search, search for CMD.
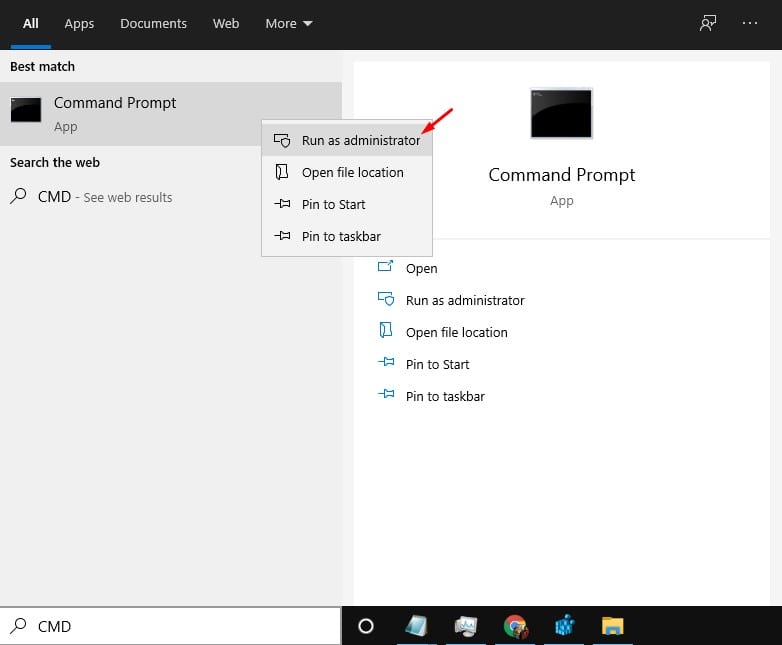
Step 2. Now right click on the CMD and select ‘Run as Administrator.’
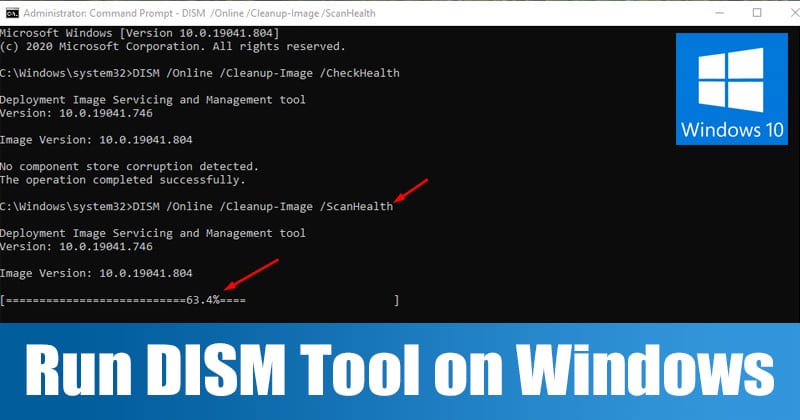
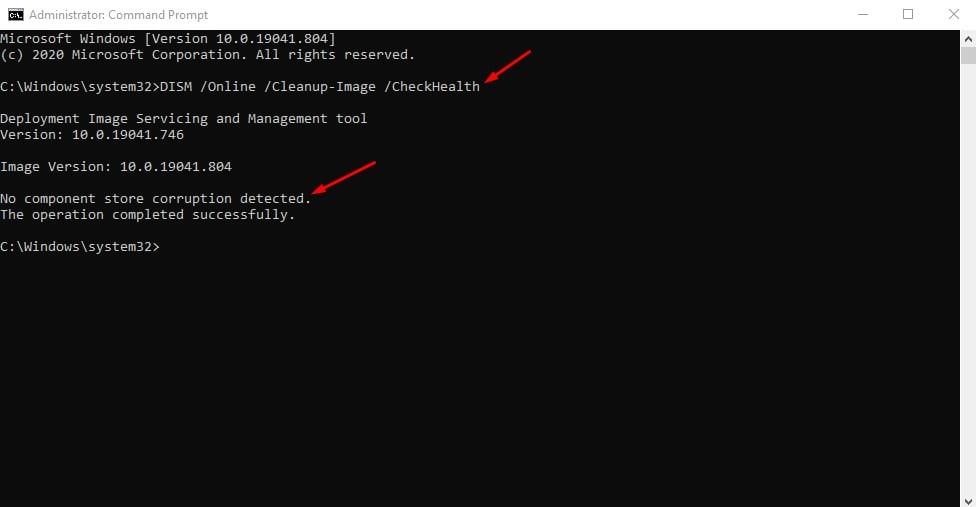
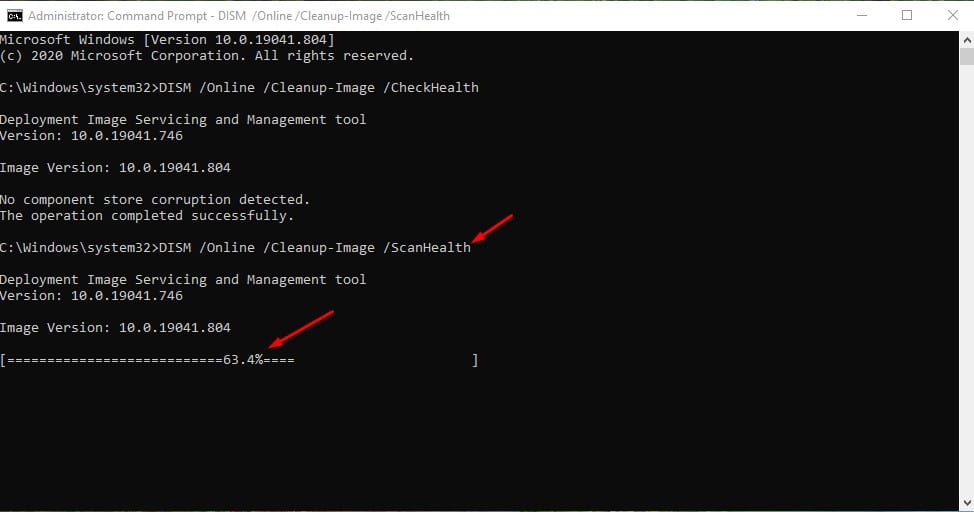
Step 3. On the command prompt window, enter the command – DISM /Online /Cleanup-Image /CheckHealth
The above command will check the health status of your PC. If it shows any errors, your PC is likely corrupted. Step 4. Next, enter the command – DISM /Online /Cleanup-Image /ScanHealth
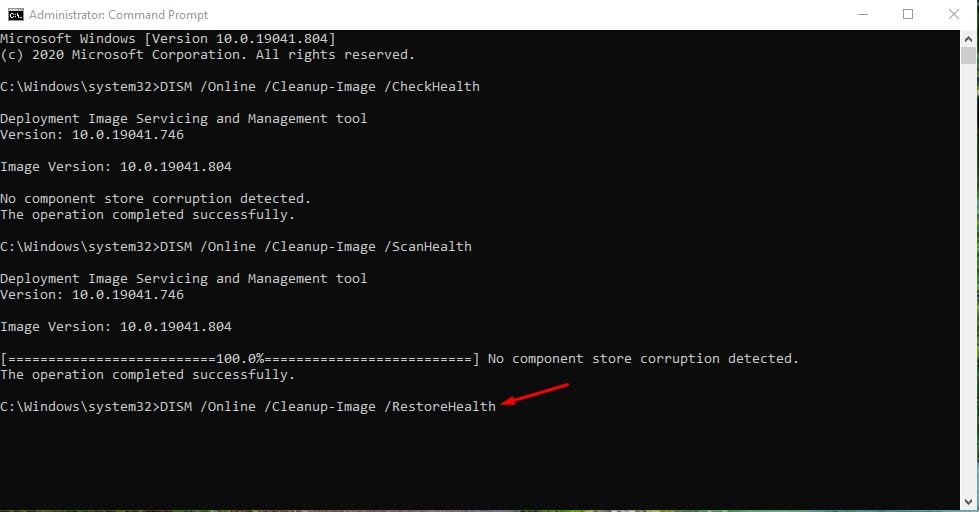
This is an advanced version of the above command. It looks for all types of errors within the operating system. Step 5. To fix all corrupted components, enter the command – DISM /Online /Cleanup-Image /RestoreHealth
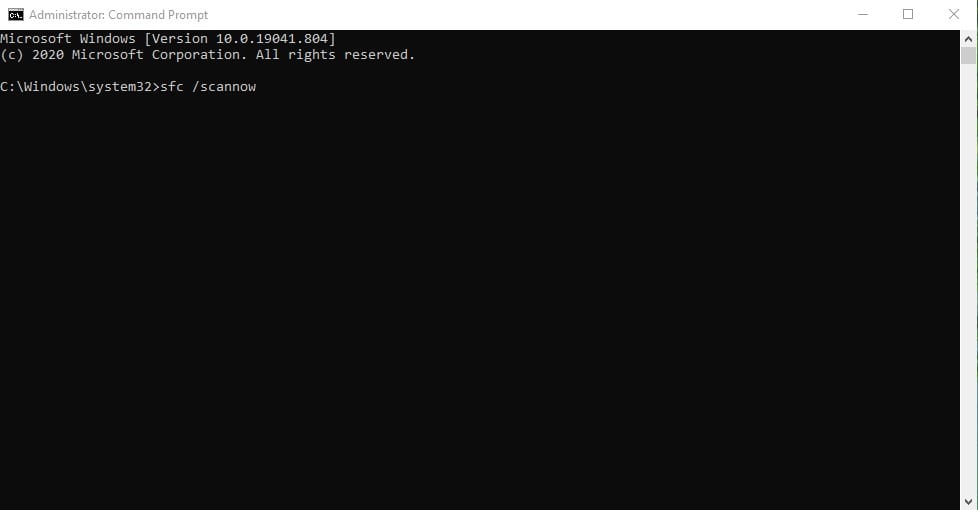
Step 6. Once done, you can run the SFC tool to fix the corrupted system files. To run the SFC tool, enter the command – sfc /scannow
That’s it! You are done. This is how you can use the DISM tool on Windows 10 to fix your PC problems. This article is all about the DISM tool and its use on Windows 10 computers. I hope this article helped you! Please share it with your friends also. If you doubt this, let us know in the comment box below.
Δ
